

How to Install Pendant Lights?
Aloysius NoordamPendant lights are one of the most popular types of lighting, ideal for brightening any space stylishly. With so many shapes, sizes, and designs available, they can fit perfectly in almost any corner of your home. However, installing pendant lights may seem tricky at first, especially if you have never done this before. So you may wonder: How to install pendant lights?
Remember, installing pendant lights correctly is essential. Why? A slight mistake can lead to dark spots in certain areas, wasting your time and effort. To avoid such outcomes, this article will guide you through the stepwise process. By the end, you'll have the confidence and know-how to install pendant lights in your home safely and effectively. So, let’s begin!

Common Mistakes that People Make During Pendant Light Installation
As I said above, installing pendant lights is very simple, but if done correctly. Many people rush into the process and make serious mistakes. Those mistakes ultimately lead to dissatisfaction and frustration. Hence, before we proceed to the installation process, let's first discuss what mistakes you must avoid.
-
Using the Wrong Ceiling Box: A ceiling box is a small container that holds a fixture in the ceiling. However, remember that not all ceiling fixtures can equally handle pendant lights. The first mistake people make is using the wrong ceiling box. This can cause the fixture to sag, tilt, or even fall, posing a danger.
-
Incorrect Height Placement: Placing pendants at the wrong height is another common mistake. If you install the light too low, it can block the view and bump your head. However, if it is placed too high, you will not get enough focused light. Therefore, you should measure and visualize height before installation to avoid this mistake.
-
Ignoring Weight Limits: As I said above, not all the ceiling boxes are the same. Every ceiling box has a maximum weight limit. So, if you install a heavy fixture pendant light on a lightweight ceiling box, it will sag or even fall. To avoid this, you should check the weight rating of both the ceiling box and the pendant light.
-
Using the Wrong Bulb: Keep in mind that pedants are designed for specific types of bulbs. Using a bulb that is too bright can create harsh glare. However, a bulb that is too dim may not provide enough light for the space. Hence, it's essential to check the fixture's recommended wattage and bulb type.
How to Install Pendant Lights: Step-By-Step Guide
Pendant lights are all about aestheticness and brightness. However, this is the case only when they are installed correctly. Now that you know the common mistakes to avoid, installing a pendant light is quite simple with these steps.
Step 1: Turn Off the Power
Before installing pendant lights, the most crucial step is to turn off the power to that specific area. Remember, working with electricity can be dangerous. Even a slight shock can cause serious injury. But when you turn off the electricity, you make yourself safe. Start by going to your home's circuit breaker.
If you are installing pendant lights in the kitchen, switch off the breaker that controls the electricity to your kitchen. However, if you are not sure which one controls the specific room, I recommend switching off the main switch breaker. It will temporarily cut off the electrical connection to your entire home. After the switch, you should double-check that no wire is live.
Step 2: Assemble the Pendant Light
Once the power is safely turned off, the next step is to assemble your pendant light. Actually, most pendant lights come in separate parts. Those parts need to be assembled before installation, including the canopy, rod or chain, light socket, and shade. So I believe that taking time to gather these pendant lights prevents you from hassle later.
First, start by unpacking all your pendant lights. You must ensure that nothing is damaged or missing in the box. After that, carefully read the manufacturer's instructions. These instructions guide you through connecting the rods or chains to the light fixture and attaching the shade. However, if your pendant features a chain, adjust the length according to the desired height of the hang.
Step 3: Install the Mounting Bracket
The next step in installing pendant lights is to install the mounting bracket, which will hold your pendant light securely in place. Actually, the mounting bracket connects your light fixture to the ceiling box. They ensure the pendant hangs safely and evenly. First, if there is already an existing ceiling fixture, remove it from the ceiling box. This will make the ceiling box visible and installation easier.
After that, align the mounting bracket with the screw holes on the ceiling box. For this, you should use the screws provided with your pendant light to attach the bracket firmly. Make sure the bracket is tight and stable because it will withstand the weight of the pendant. If your pendant light is heavier, I suggest you double-check that the ceiling box is rated to hold that weight.
Step 4: Connect the Wires
Now that your mounting bracket is securely in place, it's time to connect the wires. This step is very critical as the cables are what light up your pendants. You should begin by identifying the wires coming from your ceiling and those on your pendant light. Usually, the black (or red) wire is live, and the white wire is neutral. However, the green or copper wire is grounded.
So, carefully attach the matching wires using wire nuts. Keep in mind that attach the black to black, white to white, and green or copper to the ground wire. After connecting the wires, gently push them into the ceiling box. Then, secure the pendant light canopy over the bracket. Now your wire connection is ready to work. However, make sure that no bare wire is exposed.
Step 5: Secure the Pendant Light
Once you have connected the wires, the next step is to hang your pendant lights properly. This step ensures that the fixture is stable and perfectly aligned in your space. But how to install a pendant light fixture? Actually, most fixtures have screws, caps, or locking mechanisms that hold them in place. Hence, I advise reading the manufacturer's instructions to know which mechanism your pendant light has.

After that, carefully lift the pendant light and align it with the mounting bracket. Slowly tighten each screw of the fixture, but also check the lighting level. You must observe from different angles that it hangs straight. At this step, you can still adjust the light's right hanging angle. However, once you tighten all the fixtures, it can become challenging to readjust.
Step 6: Adjust the Height and Angle
After securing the pendant light, the next step is to adjust its height and angle. This step primarily enhances the appearance of your room and ensures that the light is distributed evenly. So how can you make these adjustments? If your pendant features a chain or adjustable rod, you can adjust the length to match your desired height. Let me explain it with an example.
Suppose you are installing a pendant light over the dining table or kitchen. For these places, the bottom of the pendant should typically hang 28–34 inches above the surface. However, in open areas like living rooms or hallways, keep it high enough for people to walk underneath safely. This height is usually recommended to be 7 feet from the floor. After adjusting the height, carefully examine it from all angles to ensure that the light falls evenly.
Step 7: Turn On the Power and Test
Once everything is secured and adjusted, it's time for the final step. So, go back to your circuit breaker and switch the power back on. Then, flip the light switch in the room to check if your new pendant light works properly. When the light turns on, observe it. For example, check that the bulb emits light at the correct brightness and that the fixture is stable.
Additionally, ensure that there are no flickers or unusual noises. I recommend that you walk around and check that the height of the pendant lights feels comfortable for the space. Also, go to every corner of your room and ensure that the light is spreading evenly. If anything seems off to you, switch off the entire system again and make the desired adjustments.
Three Pendant Lights Installation Types
The above section was all about providing you with the installation method for general pendant lights. However, pendant lights come in three styles of hanging, which alter their installation method. Let's now explain the three common types of pendant light installations.
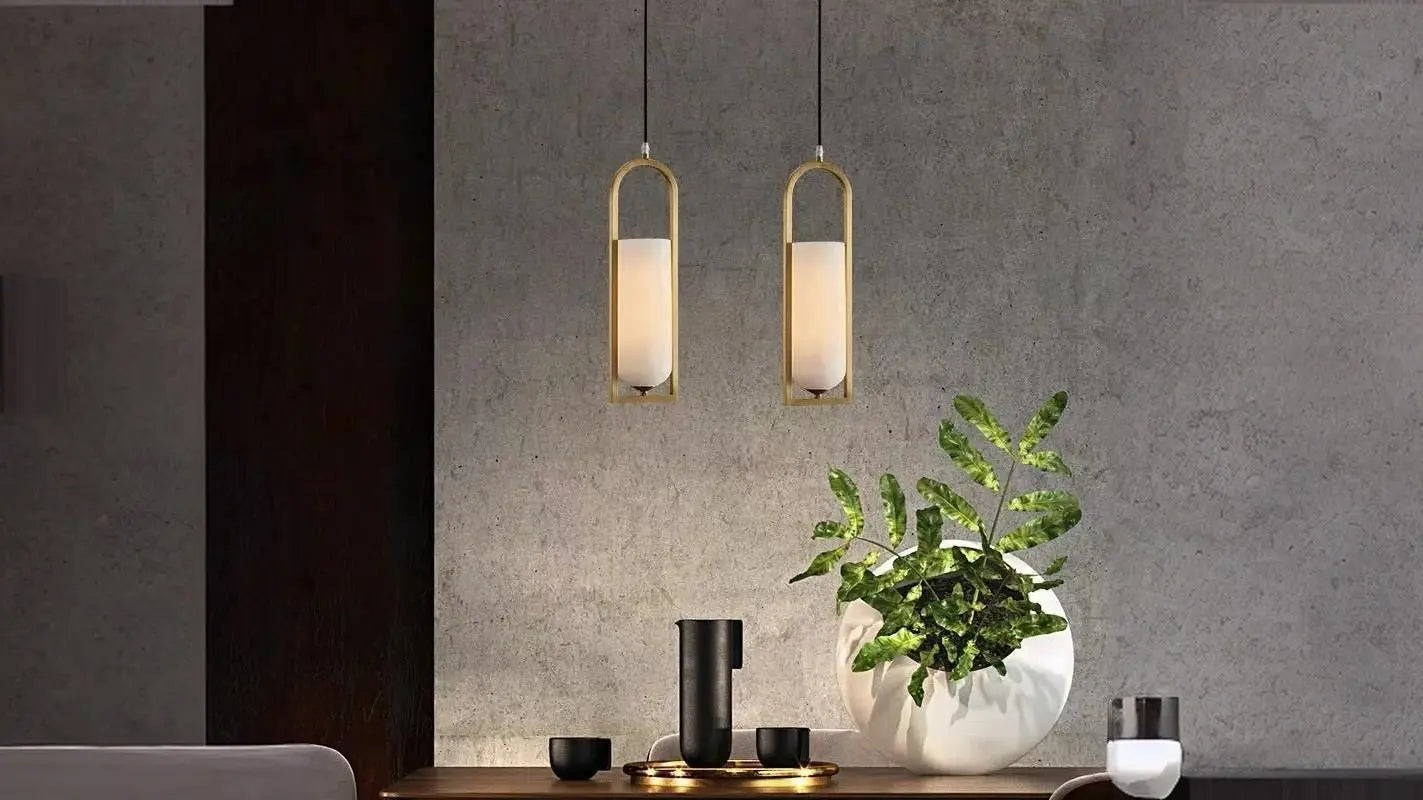
1- Cord-Mounted Pendants
Cord-mounted pendants hang from a flexible electrical cord. This style is lightweight, making it easy to install. Moreover, the electrical cord of pendant lights is easily bendable. As a result, you can effortlessly adjust the height and angle of your lights. If you want your space to look casual yet modern, cord-mounted pendants are the ideal choice. However, remember, the cord is also thin most of the time. So they work best with light fixtures rather than heavy ones.
2- Chain-Mounted Pendants
Chain-mounted pendants use a sturdy chain to suspend the light fixture. There are two primary benefits to installing chain-mounted pendants. The first is that they hide the cord inside, which makes the space look clean. Additionally, it provides strong support, making it suitable for both small and heavier pendant lights. What I like most about these pendants is their easy adjustment, even after installation. As the chains are made of links, you can add or remove links to adjust the height.
3- Stem-Mounted Pendants
Stem-mounted pendants (also called rod-mounted pendants) hang from a solid metal rod instead of a cord or chain. This type provides a clean, sleek, and structured look to your space, making it perfect for modern interiors. However, due to the weight of the stem, these pendants are somewhat more difficult to install to some extent. What makes these pendants special is the strength of the stem. The rigid stem holds the pendant firmly in place. This prevents the light from swinging or tilting. Therefore, I recommend installing these stem-mounted pendants in areas where you want to focus, such as a study area.
Frequently Asked Questions
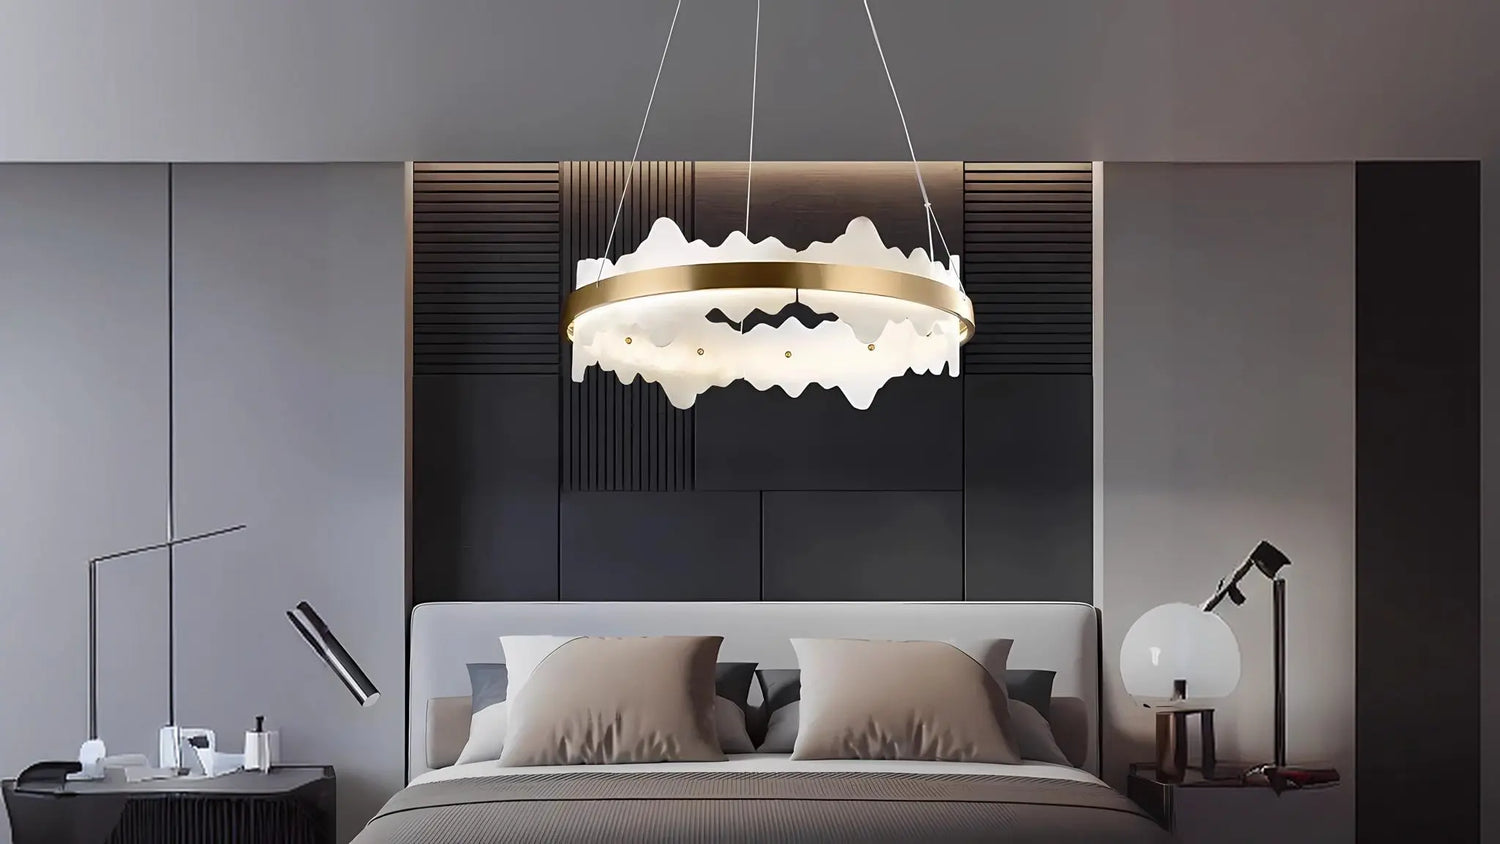
Chandelier VS Pendant Light: Which one is easier to install?
In my opinion, pendant lights are easier to install. These lights have single fixtures, are lightweight, and have fewer connections. However, chandelier lights have multiple arms and bulbs. Moreover, they require extra support. All these make their installation complex.

What type of bulb works best with pendant lights?
LED bulbs usually work best with pendant lights. These bulbs are long-lasting, energy-efficient, and available in many brightness levels. Moreover, they also come in warm or cool tones, allowing you to match them to the atmosphere of your room.
Do pendant lights go out of style and need to be replaced?
Pendant lights rarely go out of style because they come in a wide range of designs. So, instead of replacing the whole fixture, you can easily refresh the look by changing the bulb, shade, or height. This versatility makes the pendant lights a timeless option.
Conclusion
Pendant lights are more than just brightening the space. They add beauty and mood to your home. However, when it comes to their installation, many seem confused. The reason is that installing the pendant lights seems tricky due to their fixture styles. But with the proper setup and steps, you can install the pendant light by yourself.
In this article, I have discussed the steps for installing pendant lights. However, remember each step has equal importance. Skipping the single step among those can cause severe outcomes. Therefore, I recommend taking your time, following each step carefully, and avoiding rushing the process. I hope with this guide, you have the confidence to install pendant lights on your own.