
How to Install a Wall Sconce? Step-by-Step Guide
Aloysius NoordamLighting can completely change the look and feel of any space. However, among many lighting fixture options, people love wall sconces for their soft, warm glow. They not only help brighten a room but also add a touch of elegance and style to your walls. However, if you are new to lighting fixture installation, how to install a wall sconce?
At first, installing a wall sconce may sound tricky, especially if you have never done it before. However, the good news is that with the right tools and the proper steps, you can install these fixtures yourself. Don't know how? Worry not! In this guide, I will discuss some steps for installing wall sconces in the simplest possible way. So, let's begin!
Rundown of Wall Sconce
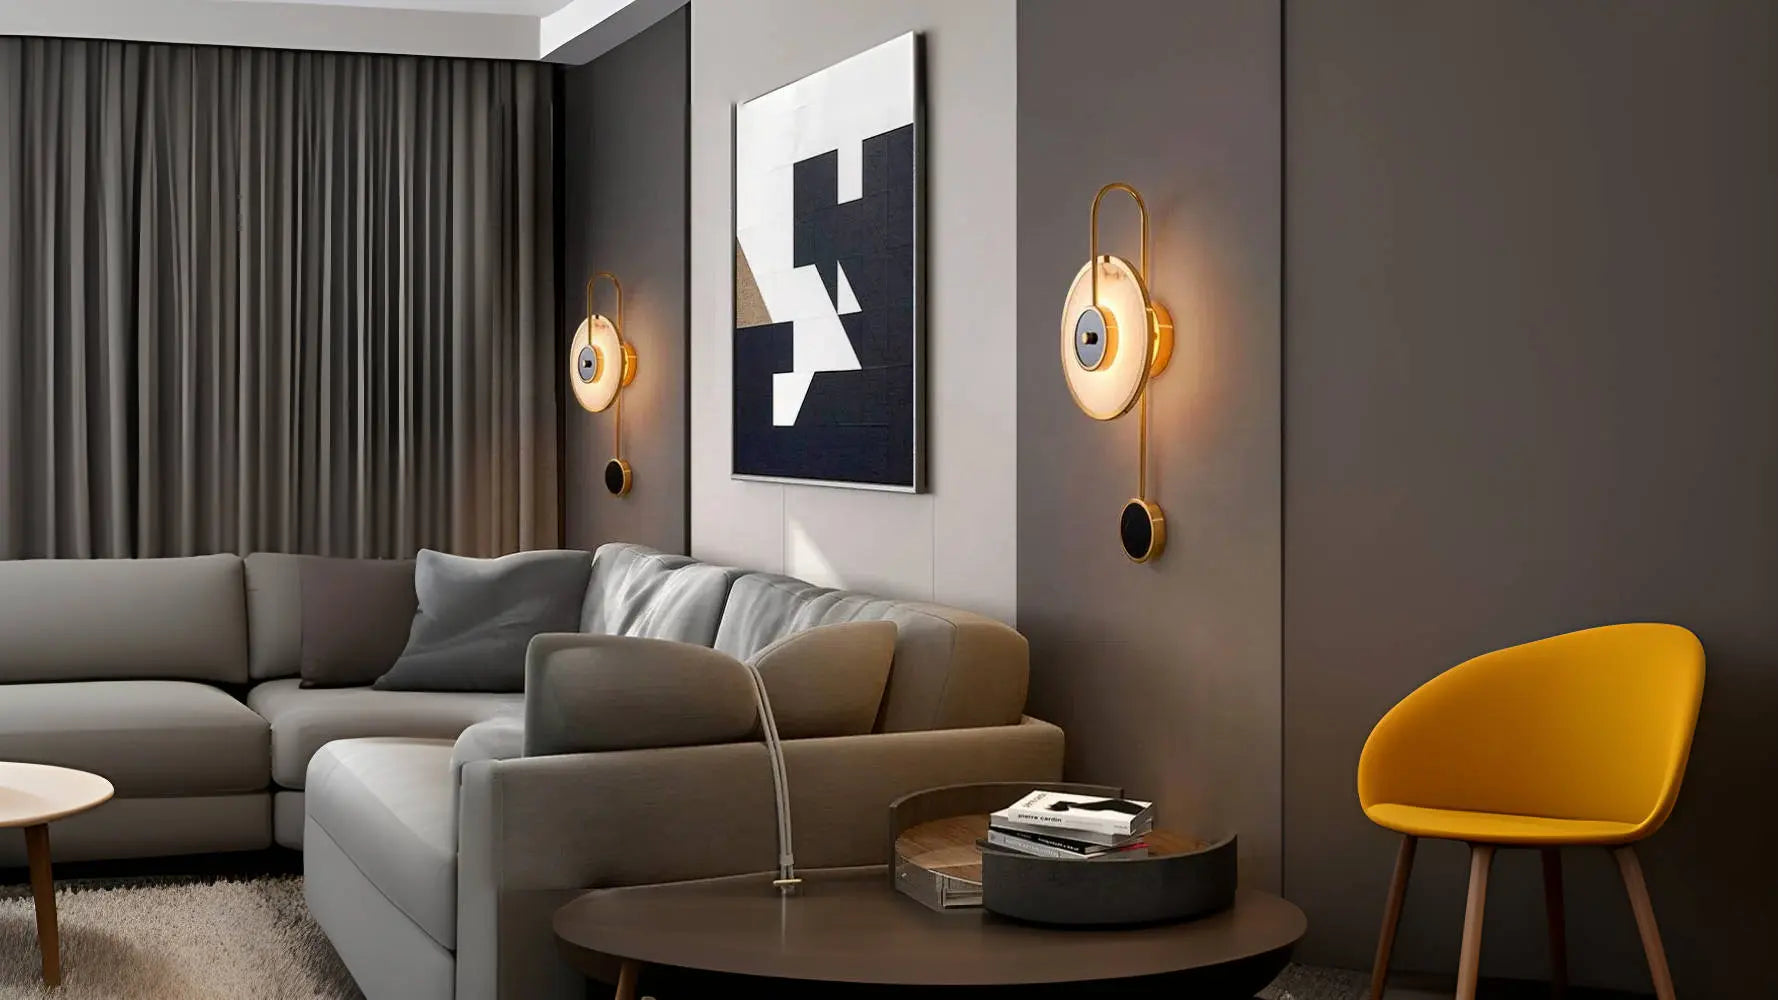
A wall sconce is a type of light fixture that's mounted directly on the wall. Unlike ceiling lights, it doesn't hang down from the ceiling. Instead, it projects light outward or upward, creating soft and even illumination. That's why wall sconces are the best option for focused lighting.

Wall sconces basically come in two main types based on their installation. Those include plug-in wall sconces and hardwired wall sconces. A plug-in wall sconce is the easiest type to install. It comes with a visible cord that you can plug directly into a nearby wall outlet. This wall sconce type is ideal if you don't want to deal with complex electrical wiring.
You can mount it on the wall, plug it in, and start using it right away. However, the only drawback of plug-in wall sconces I don't like is the visible wires. These wires often affect the clean look of your wall. On the other hand, hardwired wall sconces are directly connected to your home's internal electrical wiring.
It doesn't have a visible cord, so it gives your space a more elegant look. However, installing a hardwired sconce is a more technical process. You must connect the wires inside the wall and ensure that everything is safely grounded. Given this, I recommend seeking help from a professional electrician.
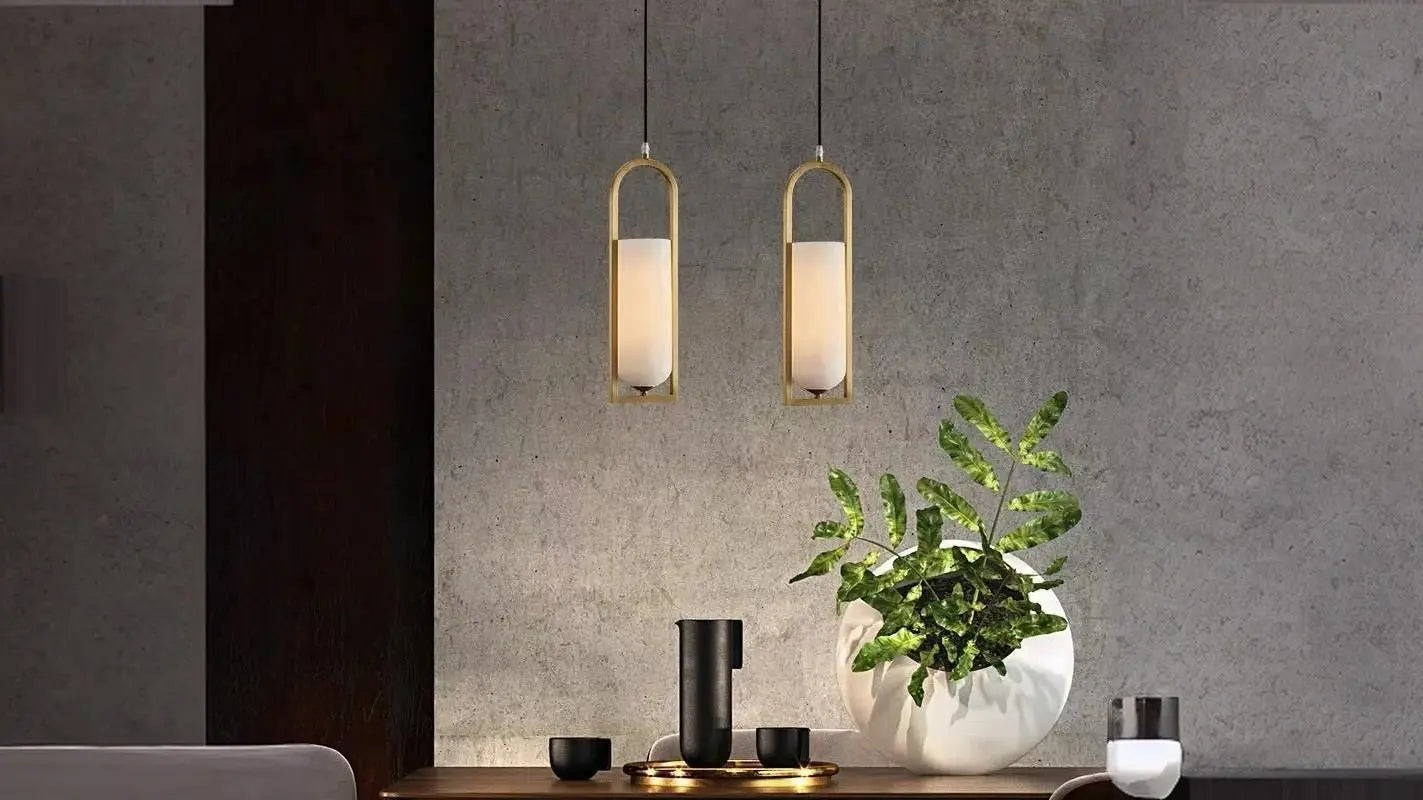
Quick Highlight: If you prefer a fixture with a more natural look, the alabaster sconce lights are the best option. These light fixtures are crafted from translucent stone featuring a unique vein pattern. When used in lighting, it allows light to glow gently through the stone. As a result, your space feels more relaxing and modern.
How to Install a Wall Sconce: Step-by-Step Guide
Now that you understand what a wall sconce is, it's time to know how to install one. Let's discuss some easy steps to help you safely and confidently install your wall sconce for custom lighting.
Step 1: Choose the Right Location
Before you begin installing a wall sconce, locate the right spot on your wall. The location you choose will affect both the appearance of your room and its lighting. So, start by thinking about why you want to add the sconce. Is it for reading, for decoration, or to brighten up a dark area? If you're placing a wall sconce beside your bed, make sure it's at a comfortable height for your eyes.
Obviously, we don't want a light shining directly into our face. Generally, a good rule is to install the sconce about 60 to 66 inches from the floor. This height usually works well for most rooms because it keeps the light at eye level. Moreover, if you're installing more than one sconce, spacing is crucial. So I recommend keeping them about 6 to 8 feet apart so the light spreads evenly and looks balanced.
Step 2: Turn Off the Power
Before touching any electrical part, the second critical step is to turn off the power. This step ensures your complete safety and is something you should never skip. So, go to your home's main electrical panel or circuit breaker box. You'll see different switches labelled for each room or section of your house. Find the one that controls the electricity for the room where you are installing the wall sconce.
Once you find it, flip that switch to the "off" position. Here, you might think turning off the wall switch is enough. Right? But it's not! The wires inside the wall can still carry electricity, and that can be dangerous. So, I suggest cutting the power from the main breaker. After turning off the power, double-check the current with a voltage tester.
Step 3: Install the Electrical Box
Now that the power is safely turned off, it's time to get your wall ready for the alabaster light or wall sconce fixture. For this, you have to install an electrical box. The electrical box is a small, sturdy container. It holds all the electrical wires and keeps them safe inside the wall. It's also where your wall sconce will be mounted.
First, check if your wall already has an electrical box in place. If one is already there and in good condition, you don't need to install a new electrical box. But if there's no box yet, don't worry! You can easily add one. How? Actually, you'll first need to decide exactly where on the wall the new box should go. It is the place where you will actually mount the wall sconce.
Now, take your electrical box and hold it against the wall. After that, using a pencil, draw around the electrical box. This creates an outline or shape on the wall showing where you'll cut. Once you have the outline, use a drywall saw or utility knife to carefully cut along those pencil lines.
It will make a hole in the wall that's the same size as your electrical box. After cutting the hole, gently remove the piece of drywall and insert the electrical box. Once the box is in place, use a screwdriver to tighten the screws.
Step 4: Run the Wiring & Mount the Sconce Bracket
Once you have installed the electrical box, the next step is to run the wires and install the brackets. First, let's discuss the wiring. If your home already has electrical cables in the wall, that's great! You just have to gently pull them out through the opening in the electrical box.

You'll usually see three main wires: one black (or red), one white, and one green or bare copper wire. However, make sure the ends of these wires are straight. Additionally, about half an inch of the metal should be visible on each wire. This visible area of each wire will later connect to the wall sconce wires.
For this, you can use a wire stripper to remove the outer insulation if needed. However, if you're adding an entirely new wall sconce where no wiring exists, you have to add new wiring. For this, I recommend calling an electrician to help with this part. Once the wiring is ready, it's time to install the mounting bracket. It's a metal or plastic plate that attaches directly to the electrical box.
In other words, the bracket is what your wall sconce fixture will screw onto. To mount the bracket, hold it against the electrical box and align it with the screw holes. However, make sure it sits straight by using a level. When it's perfectly level, use the screws to attach the bracket securely to the electrical box. That's it; your bracket is now mounted!
Step 5: Connect the Wiring & Attach the Sconce
Now comes one of the most essential parts of the whole installation. It is connecting the wires and attaching your wall sconce. This step is where you get the final shape of your alabaster light or wall sconce fixture. Start by gently pulling the wires you prepared earlier through the hole in the mounting bracket.
As I said above, you will see three wires (black or red, white, and green). Right? Now, your wall sconce will also have three matching wires of these colors. What you need to do is simply connect the same colors. To do this, you have to twist the ends of each pair of wires together clockwise.
Then, cover each connection with a wire connector. However, ensure that the wires are snug inside and that no bare metal is visible. Once that's done, wrap each connector with electrical tape — that's it! Next, it comes to attaching the sconce to the bracket. First, hold your wall sconce in place.
After that, align each hole on its base with the screws on the mounting bracket. Once you feel everything lines up, tighten the screws until the fixture is secure and doesn't move. Like a chandelier, if your wall sconce has a cover, glass shade, or decorative plate, attach it now. However, for attaching them, I recommend following the manufacturer's instructions.
Step 6: Install the Bulb & Turn On the Power
Now that you have attached the wall sconce, the final step is installing the bulb. Here, you should be careful and choose the bulb that is recommended for your fixture. Why? Because using a bulb that's too powerful can cause overheating or damage. As a result, you can lose the beauty of your alabaster light or wall sconce fixture.
For this, you must check the wattage limit mentioned on the sconce or in its manual. You can also choose from various energy-efficient LED bulbs. Once you have selected the bulb, screw it gently into the socket. However, do not overtighten it; a firm twist is sufficient.
Once your bulb is in place, go to your home's circuit breaker and turn the power back on. Then, flip the light switch and see your wall sconce shining. However, take a moment to ensure the light turns on smoothly. Moreover, also check that there are no flickers or unusual sounds from the wall sconce. If everything works perfectly, you have successfully installed your wall sconce.
Common Mistakes to Avoid While Installing a Wall Sconce
No doubt, installing a wall sconce or an alabaster light fixture is a simple process. However, a few small mistakes can cause significant problems later. Let's discuss some common errors to avoid when installing a wall sconce.

-
Skipping the Voltage Test: Many people don't test voltage before touching the wires. Even if you think the power is off, electricity might still be running through the wires. Therefore, it is essential always to use a voltage tester to verify that there's no power in the circuit.
-
Wrong Wire Connection: It is another big mistake you can make. Remember, misconnecting wires can lead to short circuits. Therefore, ensure that you match the correct cables, i.e., black to black, white to white, and green to green.
-
Mounting on Weak Surfaces: Another common mistake is attaching the wall sconce to a weak surface. Know that if the wall can't support the weight of the fixture, it may fall off later. Ensure the sconce is mounted to a solid surface.
-
Using Too Bright Bulbs: Using too bright bulbs can produce excessive heat. Right? So this heat can sometimes damage your wall sconce. Thus, you should check the maximum wattage limit recommended by the manufacturer and choose the correct bulb.
-
Ignoring Manufacturer Instructions: As you are aware, every wall sconce model is different. So, ignoring the instructions can lead to serious outcomes. Actually, the manufacturer's guide gives details about the wiring method, mounting height, and bulb type. Hence, you should always read and follow those directions carefully.
Conclusion
Wall sconces have become a popular choice for lighting fixtures today — and for good reason. They instantly brighten any space while adding a touch of modern charm. However, installing a wall sconce correctly is very important. Many people feel nervous about doing it themselves. But the truth is, you don't have to be an expert to install a wall sconce or an alabaster light.
With the steps I discussed in this article, you can easily install a wall sconce yourself. Each step, from powering off the light to choosing the right bulb, is equally important. Skipping even one step can cause problems later. Take your time and follow the manufacturer's instructions carefully. By doing so, you'll get a wall sconce installed without any trouble.